09.21.2023 Melissa Pace
 As a child, I would delight my family each summer by filling our portable cooler not with sodas, but with live frogs. Inside the cooler, the little guys would be swimming in the pond water, ready to pounce on my unsuspecting mother. Again, this was the delightful half of my summer antics. On any given day, I was just as likely to hand my uncle a mason jar filled to the brim with….leeches. Picture it now—a little girl with her front teeth missing, dirty little hands holding a sealed jar filled with brown pond water mixed with writhing, wriggling, black leeches. I loved them and hated them! I wanted to stare at them and never look away…that mix of delight and disgust and awe at another way of life. The frogs were cute, but the leeches were aliens.
Fast forward 20 years, and now I am paid to feed a bin of one thousand writhing, wriggling worms that live under my desk. Worms are, admittedly, cuter than leeches. For one, they don’t drink our blood. Even so, most adults, at best, shy away from worms, but more often, jump back in audible disgust when a worm ball is presented to them. (A worm ball is when 10+ worms get tangled together to form, well, a ball.) What is it about a slimy, tube creature with no eyes that really seems to freak us out? I’m convinced this is a learned behavior. Almost every child that meets a worm leaves that interaction feeling delighted and in awe of the humble worm. Some are staring at the worms the same way I looked at the leeches—like an alien has arrived at school. Most kids try to leave with one or two in their pockets.
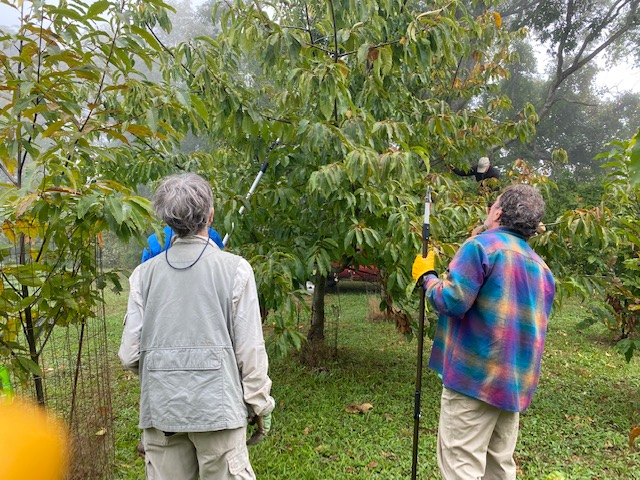
Earthworms are decomposers. So, unlike the leech, they will never bite us in hopes of a tasty meal. Their mouth parts are so small, we wouldn’t even feel it if they did try to bite us. In short, earthworms are our helpers and friends - in comparison to the rest of the creepy crawly world, worms are our heroes. This part of the world used to be covered by glaciers, and places that were covered in glaciers do not have native earthworm species. I will say that again: there are no native earthworms to New England. Every worm you see comes either from the American south, Europe, or Africa. The settlers who came over from Europe unknowingly brought earthworms to New England in the soil used for their potted plants or the mud tracked in on the hooves of their animals. The earthworms entered a new world filled with leaf litter and decomposing garden plants and forest critters. Thankfully, a worm is a delicious and easily eaten snack, so their populations have never become invasive. A lot of earthworms (like the composter extraordinaire, the Red Wiggler), cannot survive a New England winter. The forest floors of New England used to look a lot different before the humble earthworm—there used to be inches of thick fluffy leaf litter on the ground, slowly decomposing and only leaching out small amounts of nutrients at a time. Enter the earthworm! They digested those leaves and pooped out fertile soil—creating an increasingly fertile landscape for plants and animals to exploit (in a good way!) We owe a lot to these little creatures!
.jpeg?width=3024&height=2854&name=IMG_1182%20(1).jpeg)
Okay, if you’ve made it this far, you’re probably wondering when I’ll get to the good stuff: vermicomposting! That bin of worms I told you about isn’t just for fun - it is a functioning soil ecosystem in a box. For a long time, people regarded soil as just dirt, the lifeless substrate that plants grow in. It wasn’t until quite recently that we realized that the soil is filled with a complex, vibrant, and diverse ecosystem made up of plants, animals, fungi, and raw materials. Composting is how humans mimic this soil ecosystem that recycles all the world’s waste and turns it into something new.
Vermicomposting is the science of using animals (worms specifically) to break down the waste themselves, instead of relying on microbes and time as in a regular compost pile. This comes with its own set of challenges and benefits - the challenge of simply keeping living creatures alive through feeding and habitat management, versus the benefit of delegating the decomposition work to another critter.
Worms create much more potent compost than a regular pile - so much so that worm poop is called worm castings, and it's sold for good money at your local garden store. With a worm bin, worm castings are the gold at the end of the rainbow. Although you will create far less compost by volume, you can dilute the castings and use this to water your plants to the same effect as sprinkling on the soil. We used the worm castings here at MHS to give all the indoor plants a refresh, and kids even take some home in ziplock baggies for their own gardens!
Worm castings are made up of humus—that rich, spongy, dark soil created when things decompose. It is filled with available nutrients like nitrogen, calcium, phosphorus, potassium, magnesium, zinc, iron and so many more. There are whole colonies of beneficial bacteria and fungi that get passed from the worm’s gut to the soil. These microorganisms help protect plants from disease and infection. When we explore the worm bin with students we can see the digestive tract of the worms. The dark line is the waste (dead leaves, apple cores) going through the system, then at the end it is a fully formed casting ready to be dropped in the soil. Their poop is nontoxic to humans, and it is totally safe to touch, smell, even taste. I tell the kids: the worms eat the yucky stuff and poop out the good stuff—the opposite of most animals!
True to their roots, worms are recyclers. So, after you have harvested all that golden poop from your worm bin, you simply add more materials (dead leaves, small sticks, pinecones, newspaper, brown paper bags, cardboard, rotten apple, smooshed banana, etc.) and plop your hundreds of worms back into their house. I clean out our worm bin every few months with the students.
Even if you were not the type of kid to catch frogs and jar up leeches, I hope you’ve learned enough to befriend a worm, or five-hundred, and create some rich soil for your gardens this spring!
HOW TO MAKE A WORM BIN
Materials:
- 2 plastic bins same size, 1 lid (the bins will nest inside each other)
- Electric drill or hammer and nails
- Recycled materials:
- Brown corrugated cardboard
- Black and white printed newspaper
- Brown paper bags
- Natural materials:
- Dead leaves
- Sawdust or coco coir
- Pine cones
- Small sticks
- Dead flowers, old fruit (no citrus), seeds or nuts
- Spray bottle with clean tap water
- Worms! We ordered our worms from Uncle Jim’s Worm Farm. They arrive in a burlap sack in a box. They will need to be fed right away, so gather your supplies before the shipment arrives.
Instructions:
- Rinse out the plastic bins.
- Use the electric drill to drill holes around the bins and the lid. These are air and drainage holes. I drilled about 24 holes in each bin in random spots, and about 20 in the lid in a nice uniform style. Use a drill bit that is the same size as a standard nail. Nothing too big or the worms WILL get out.
- If using a nail and hammer, hammer in the nail and pull it out over and over to make your air and drainage holes.
- Nest the bins - put one bin in the other. This will help air flow and keep the mess off your floor or tabletops. Make sure the lid can still fit securely - there should be no gaps or the worms WILL get out.
- Create the bedding:
- Layer your materials in the bin like you are mimicking a forest floor.
- Break/tear up big pieces of materials so the worms can digest it easier.
- Spritz the materials as you are making the habitat. Worms like damp, but not wet, environments.
- When the bin is ¾ full, add your worms. Place a few food items near them.
- Cover the worms with more layers of materials and water spritz so they have a nice dark and damp place to settle in.
- Stop filling the bin about an inch and a half below the lip of the bin.
- Put the lid on the bin and store your bin in a dark and warm place.
Care:
- What CAN’T worms eat?
- NO: citrus, garlic or onions, meat, dairy, eggs (rinsed egg shells are ok), fats and oils like butter and coconut oil, diseased plants, fruit stickers, alcohol, soda, or highly acidic foods
- Spritz the bin when it seems to be drying out. After a while your bin will reach an equilibrium where it can maintain its own moisture, but keep an eye on it until then.
- Don’t add too much food at one time. Save a separate smaller compost bin to collect a few worm friendly items per day (apple core, rinsed egg shell, pistachio shells, etc.) then bury the food in a corner of the worm bin.
- You can always add more dead leaves! Always spritz the dry leaves.
- Your worm population will double in size in 6 months. When the bin reaches its equilibrium, the worm population will control itself. If there are too many worms, give some to a friend!
- There will be other creatures living in the bin. Popular residents include roly-poly bugs, mites, snails, centipedes, and even small spiders. The diversity in your bin is an indication that you are creating a vibrant decomposer ecosystem.